DIY BABY BRACELET - RELIGIOUS EDUCATION PROGRAM - Holy Family Novi
←
→
Transcripción del contenido de la página
Si su navegador no muestra la página correctamente, lea el contenido de la página a continuación
RELIGIOUS EDUCATION PROGRAM
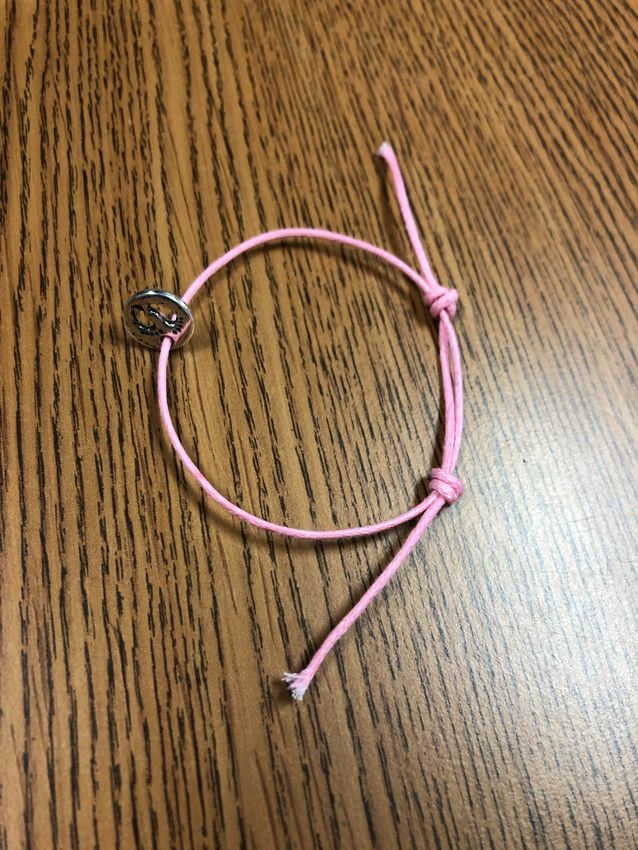
DIY
BABY BRACELET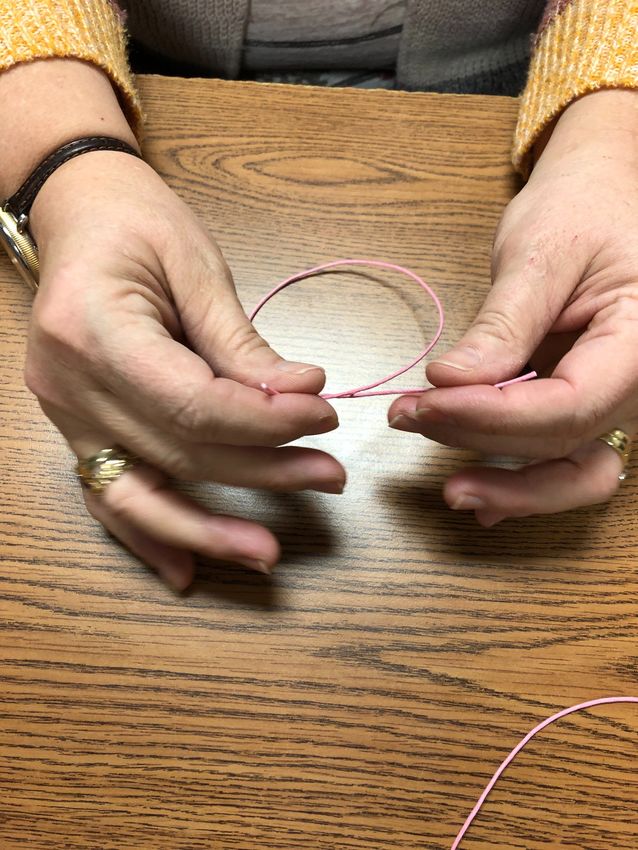
These bracelets are the perfect way to
teach kids the importance of life! While
we craft them, we can share the specials
moments in our life and meditated about
the sanctity of life.

   10 minutes     WHAT YOU'LL NEED
                   Makes 1 Bracelet
   medium

   5 inches knotting cord, 1mm diameter or thicker
   Baby foot charm

Use your talents to promote Life !!!
If you wish to contribute with Walking with moms in
need ministry. Contact Religious Education or Christian
Services departments and we will give you the supplies
and you will do this craft, return your bracelets when
done and we will sell them in one of our events to
support this ministry.
Thank you for share life!!!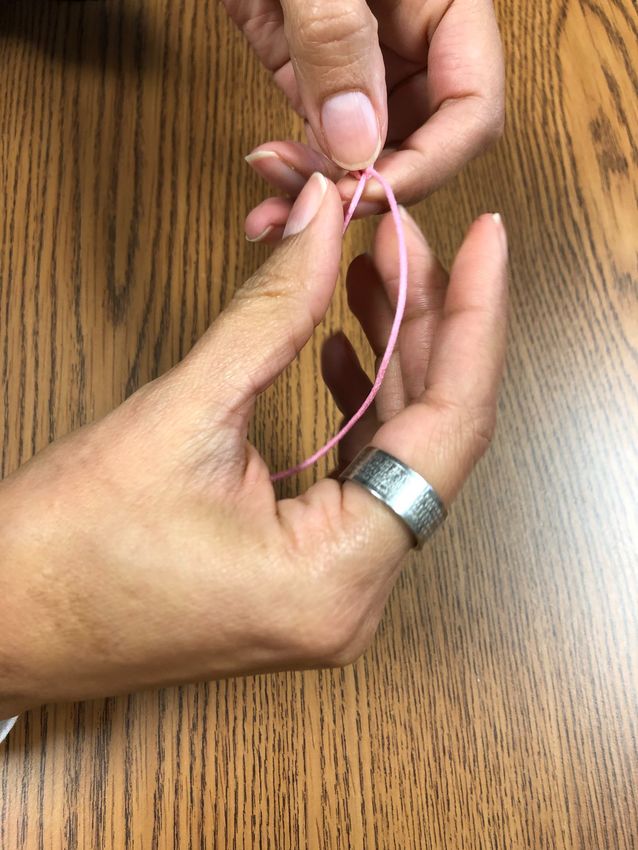
STEP 1 Insert the
charm into the cord
STEP 2 Gather Your
Cord lay the knot cord
on top of the base cord.
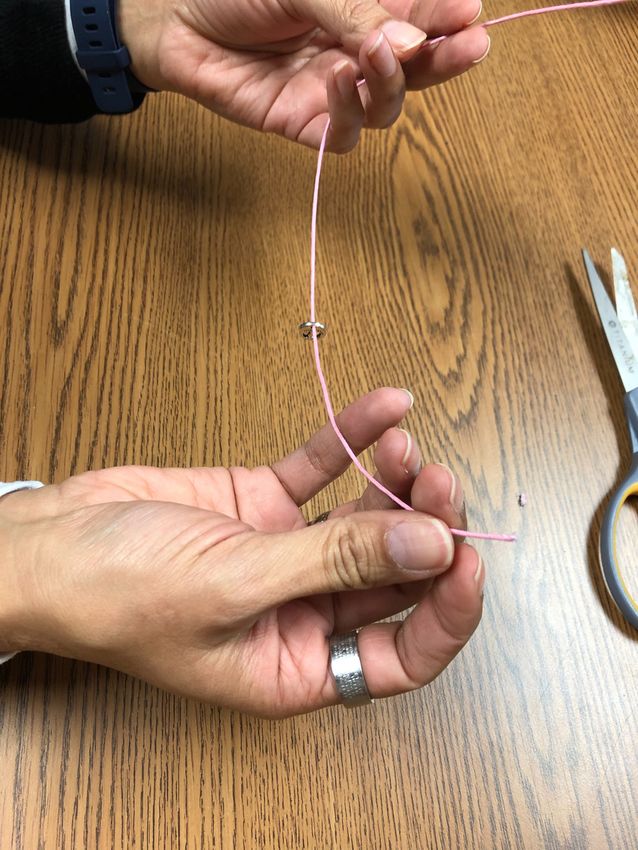
STEP 3 Begin Looping
Holding the knot cord
about 1 to 2 inches from
the end, make a loop.
STEP 4 Hold the loop
in place with your
index finger and
thumb by pinching it
against the base cord.
STEP 5 Wrap the knot
cord loosely around the
base cord and the tail of
the knotting cord at least
three times. Try to keep
the loops even and
straight without
overlapping.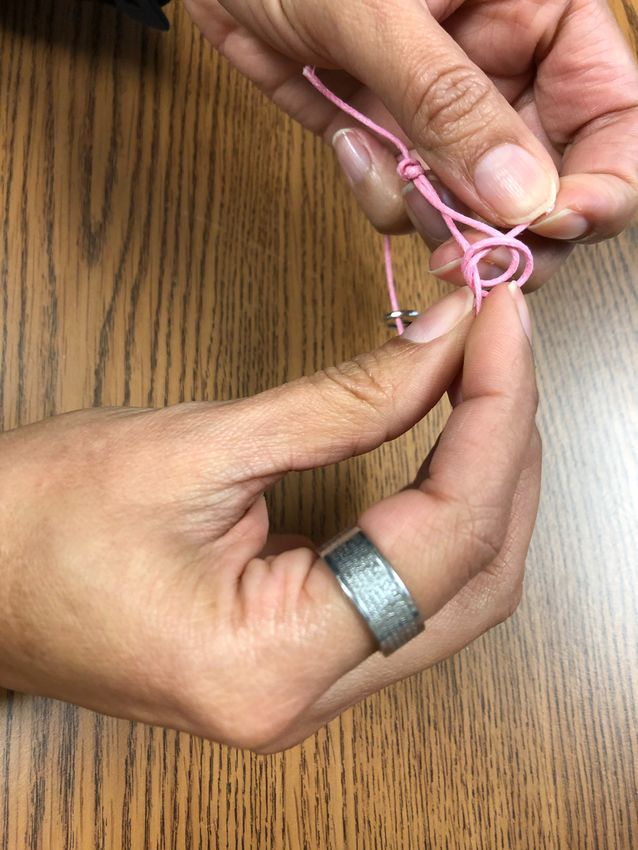
STEP 6 Insert Cord End
Through the Loops
While keeping the loops
in place (this is the first
tricky part), insert the
cord end through all of
the loops. We find it
helps to press the loops
against the surface of a
table. This helps provide
just enough pressure to
hold them in place while
                            STEP 7 Pull the Cord
also pushing them up, so
                            End Through the First
it's easier to slide the
                            Loop
cord through the center
                            Once the cord end is
of the loops.
                            through the loose loops,
                            thread it through the
                            first loop you made. This
                            is what is going to help
                            hold the knot tightly in
                            place. Pull the tail all the
                            way through.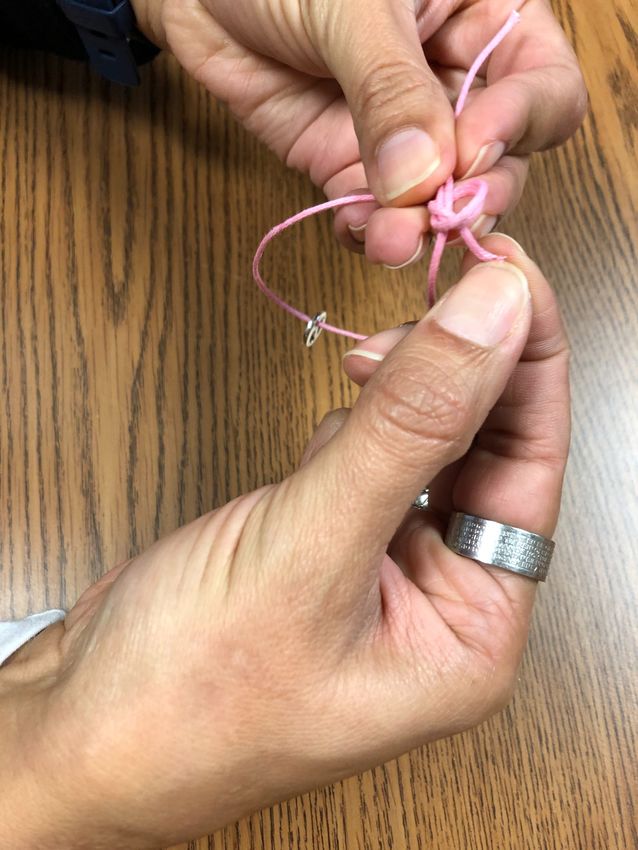
STEP 8 Continue Tightening the Knot
You will know the knot is tight enough when you
can still slide the base cord, but it is not easy to
do so. There should be enough friction so it will
hold the jewelry in place, but not so much that it
is difficult to adjust when it's time to take off your
jewelry. Making a practice knot will help you feel
when the tension is right. Unfortunately, if you
pull the knot too tight, it can be difficult to get it
loose again, so make adjustments carefully. Do it
again in the opposite side.

 "Before I formed you in the womb I knew
you, before you were born I dedicated you,
a prophet to the nations I appointed you."
                              Jeremiah 1:5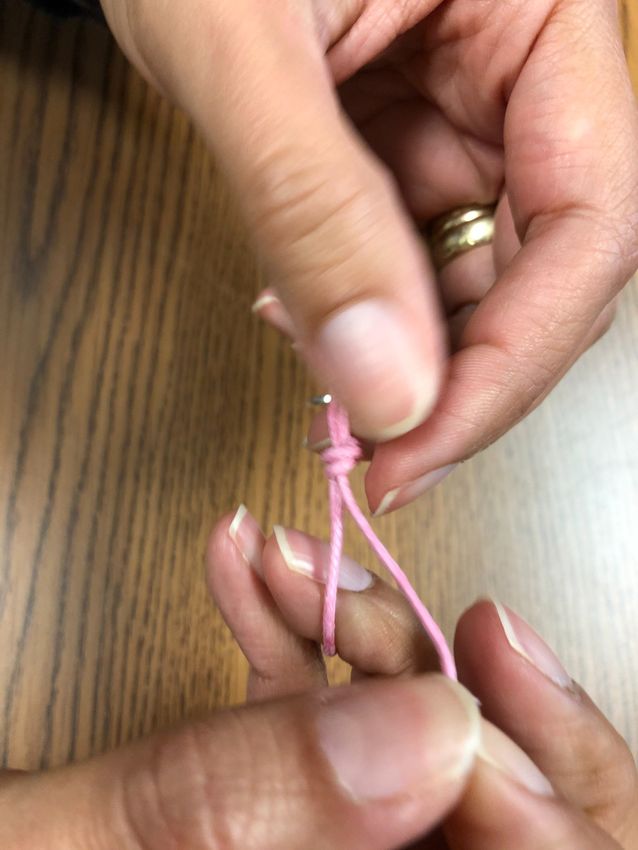
PROGRAMA DE EDUCACION RELIGIOSA

 HAZLO TU MISMO
PULSERA DE BEBE
¡Estas pulseras son la manera perfecta de
enseñar a los niños la importancia de la
vida! Mientras los elaboramos, podemos
compartir los momentos especiales de
nuestra vida y meditar sobre la vida
preciosa

   10 minutos       MATERIALES
                 Para hacer 1 pulsera
   media

   5 pulgadas de cordón para joyería de 1 mm de
   diámetro o más grueso
   Dije con pies de bebé

¡Utilice sus talentos para promover la vida!
Si desea contribuir con el ministerio Walking with moms
in need. Comuníquese con los departamentos de
Educación Religiosa o Servicios Cristianos y le
proporcionaremos los materiales y usted hará esta
manualidad, devuelva sus brazaletes en cuanto termine
y los venderemos en uno de nuestros eventos para
apoyar este ministerio.
¡¡¡Gracias por compartir la vida!!!
PASO 1 Inserte el dije
en el cordón y sobre
pon las puntas
PASO 2 Una vez sobre
puesto el cordón deje la
punta del lado del nudo
PASO 3 Comience las encima de la punta de
vueltas Sosteniendo el cordón de la base.
cordón aprox. 1 o 2
pulgadas del final haga
una vuelta. PASO 4 Sostenga la
vuelta en su lugar con
el dedo índice y el
pulgar presionando
contra el cordón de la
PASO 5 Envuelva el base.
cordón sin apretar mucho
alrededor del cordón
base y el cordon que va a
anudar, hágalo al menos
tres veces. Trate de
mantener las vueltas
uniformes y rectas sin
sobreponerse.PASO 6 Inserte el extremo
del cordón a través de las
vueltas mientras mantiene
las otras vueltas en su lugar
(esta es la primera parte
complicada), inserte el
extremo del cordón a través
de todos las vueltas. Ayuda
el presionar las vueltas
contra la superficie de una
mesa. Pues proporciona la
presión suficiente para
mantenerlas en su lugar
mientras también los PASO 7 Jale el extremo
empuja hacia arriba, por lo del cordón a través de
que es más fácil deslizar el la primera vuelta
cordón a través del centro Una vez que el extremo
de estas.
del cable haya pasado
por las vueltas sueltas,
páselo entre la primer
vuelta que hizo. Esto
mantendrá el nudo
firmemente en su sitio.
Jale de la cola hasta el
final.PASO 8 Continue apretando el nudo
Sabrá que el nudo está lo suficientemente
apretado cuando aún pueda deslizar el cable de
la base, pero no es fácil hacerlo. Debe haber
suficiente fricción para que se mantenga en su
lugar, pero no tanto que sea difícil de ajustar
cuando sea el momento de quitarse la pulsera.
Hacer un nudo de práctica te ayudará a sentir
cuándo la tensión es la adecuada.
Desafortunadamente, si aprietas demasiado el
nudo, puede ser difícil soltarlo nuevamente, así
que haz ajustes con cuidado. Ahora hazlo al
revés.
"Antes de formarte en el seno de tu madre,
ya te conocía; antes de que tú nacieras, yo
te consagré, y te destiné a ser profeta de
las naciones."
Jeremías 1:5También puede leer